")

If you’ve been overthinking online course creation, this is your sign to STOP.
I’m Aleka, a 6-figure course creator and teacher of over 15 years, and in this guide, I’m breaking down the absolute minimum course creation tools you need to build, record, edit, host, and sell your first online course—without complicated tech, overwhelm, or a giant budget. Because when we start building an online course, we don’t have money to spend…YET.
OH! and be sure to grab my Course Creation Toolkit! (It’s FREE!)
It will help you understand what it actually costs to create your course and how to plan it realistically.
I’m keeping this simple on purpose. These are the exact tools I’ve used to sell multiple courses successfully. No fancy extras. No shiny-object nonsense. Just what works.
I’ll also walk you through real pricing, and at the end, I’ll give you two clear budget options:
- A minimum viable setup (for complete beginners who have a tight budget)
- A slightly more polished starter setup (for those slightly more comfortable with technology)
You can choose what fits your budget and skills and move forward confidently.
Who This Is For
This post is for you if:
- You want to create your first online course
- You don’t want complicated software
- You want to launch fast, not “someday”
- You’re tired of wasting time researching and don’t have an endless budget
If that’s you, let’s dive in.
Course Recording Equipment (Keep It Simple)
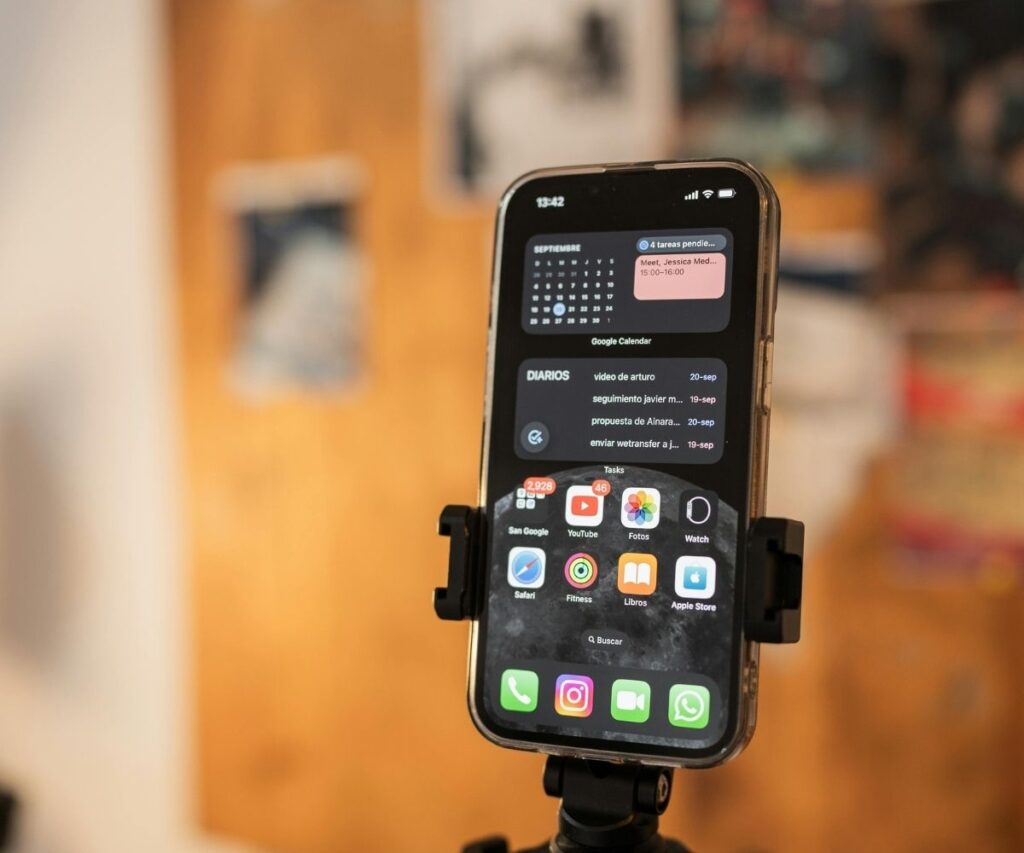
1. Camera (Or Your Phone)
You need something to record video. That’s it.
- A DSLR camera is great if you already own one (this is what I have)
- Your smartphone! (This is what I recommend if you’re just beginning)
Phone cameras today are incredible. Just make sure you have enough storage, because video files take up a LOT of space on your phone and eat up storage faster than my frenchie gobbles crumbs up off the floor.
So if you do use you a phone, this is NOT an added expense. Whew.
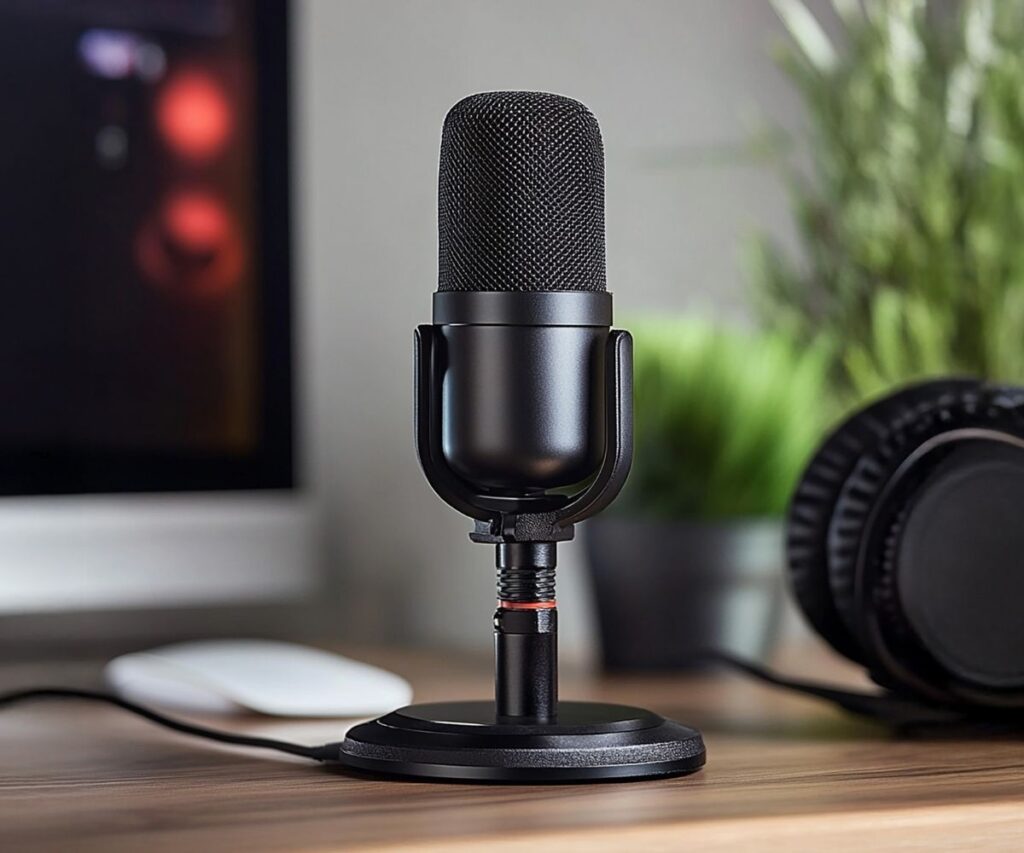
2. Microphone (Non‑Negotiable)
Do not rely on:
- Your phone’s built-in mic (audio is extremely important)
- Wired headphones (they just don’t do it and they look unprofessional)
Believe it or not, your audio quality matters more than video. A separate microphone instantly makes your course sound more professional.
You can get a solid mic very inexpensively, and it makes a huge difference. Here are some I recommend:
FIFINE Dynamic Mic (this is what I use and love it)
Wireless Mic (for your shirt) (I use this one for talking head videos)
3. Lighting (Please Skip Overhead Lights!!)
You don’t need fancy studio lighting but please make sure you don’t turn on those overhead lights in your bedroom or office. They are harsh and NOT what we want.
Instead, turn them OFF and use 1-2 of these instead:
- Basic Panel Lighting ($45 for two, I use these and love them.)
- Affordable box lights ($60 for two. Great lighting but bulky.)
- Backlight for added light/color
Now, will you need ALL of these lights? Not if you are just recording your face in a bubble while showing your screen. If you plan on talking to the camera face-to-face (or what I refer to as talking head), then YES, you will need more lighting than you think.
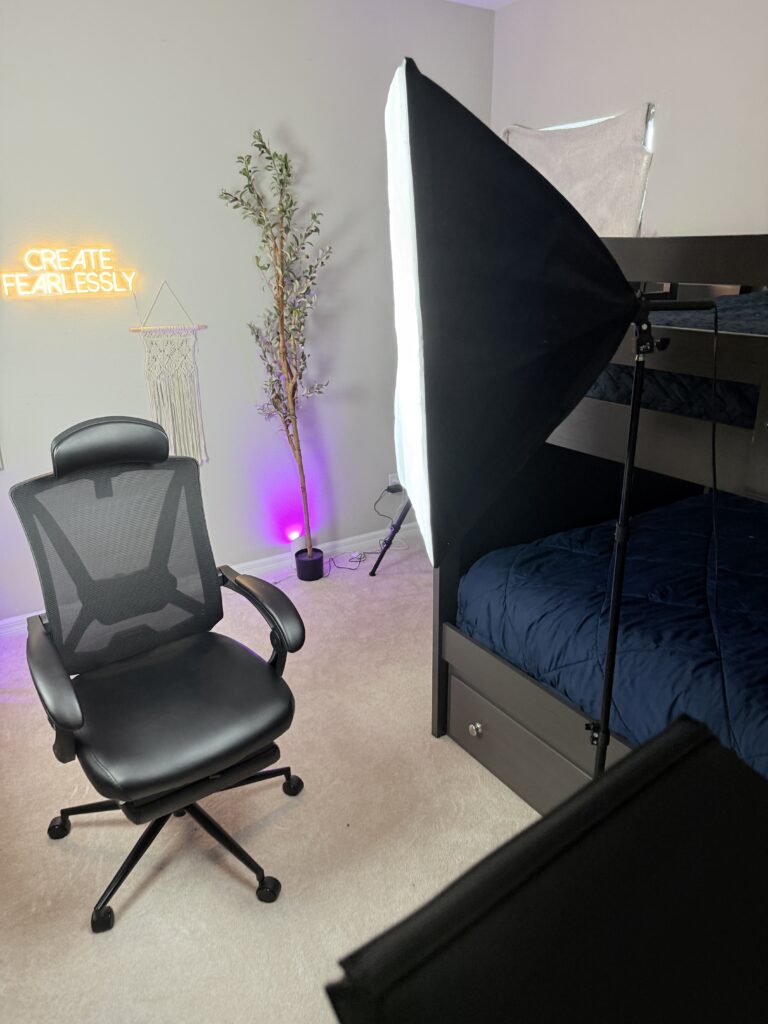
I’ve used this same setup for:
- Course videos
- YouTube
- Food photography
- Blog content
It works and takes less than 5 minutes to set up.
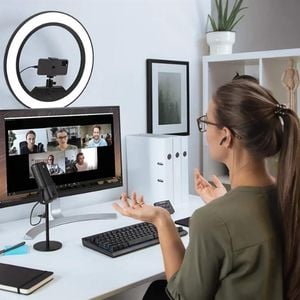
When You Need a Webcam (And When You Don’t)
You only need a webcam if you’re recording on your computer.
Examples:
- Slideshows
- Screen tutorials (like the one below)
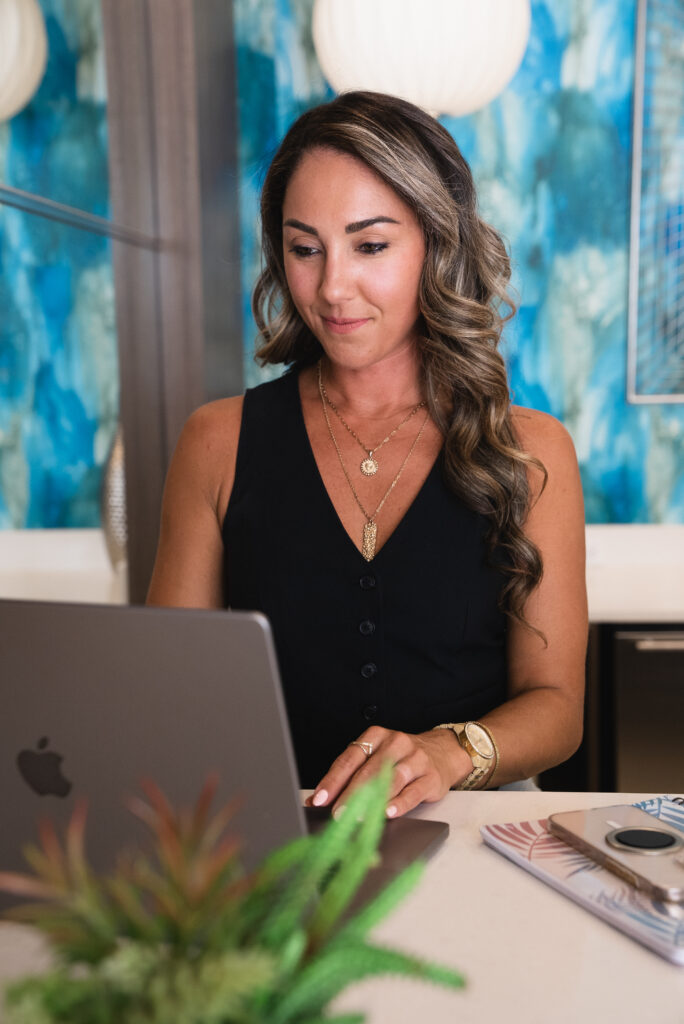
- Talking-head videos at your desk
Now, if your course is hands-on (like cooking, crafting, or demonstrating something physical), you might not need:
- A laptop
- A webcam
- Slides at all
Your entire course could be filmed in your kitchen or workspace using the wireless mic I linked to above and 1-2 light sources.
Got Natural Lighting?
If you’re lucky enough to have amazing natural lighting, then DO use that! You just need to make sure you record your lessons at the same time frame each day, or the lighting for each video will be OFF. (The sun moves during the day so timing makes a huge difference.
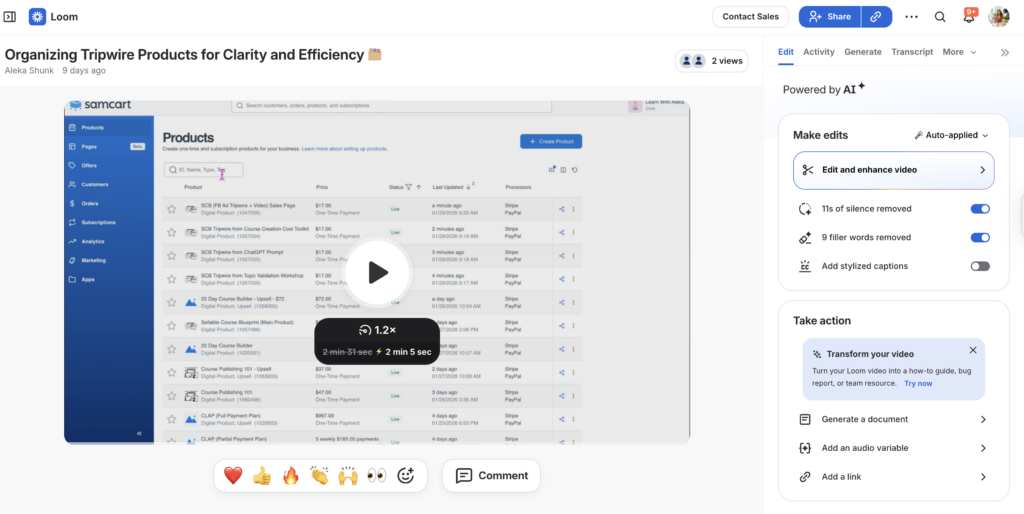
Screen Recording Software (For Slide-Based Courses)
If your course includes slides or screen demos, you’ll need screen recording software.
My Go-To Recommendation: Loom and Focusee
Both are:
- Easy
- Affordable (around $15/month)
- Beginner-friendly
You can:
- Record slides + voice
- Use a talking-head bubble
- Edit inside the same platform
As soon as you hit stop, you can trim and clean up your video right there. No extra software needed.
I’ve tried more advanced tools. Nothing is simpler or cheaper.
Slide Creation Software
Most of us already know slides (hello, PowerPoint days).
Today, Canva is the easiest option:
- Around $15/month
- Tons of pre-made slide templates (you can grab my templates here to save time)
So all you do is create your slides in Canva using your course outline you already have, open Loom, hit record, talk through your slides and you’re done! Edit within the platform right after and they’re upload-ready.
Hosting Your Online Course (Where People Buy)
Once your course is recorded, it needs a home.
Don’t even think about:
Manually send links to your course.
Many people try to use Canva or Google Drive to house their course and just send the link out that way. This is not professional and is more work for you. What if someone buys your course in the middle of the night? They have to wait for you to wake up to access it? That’s not good. We want to automate it. And yes, Zapier can do this (something I will talk about in another post), but it will end up costing as much as a teaching platform will.
So this is where course platforms come in.
Course Platforms To Upload Your Course To
I have been in the course-creator industry for a long time. And these course platforms have only gotten better and more popular. You will or may have heard about other platforms out there like Skool, Systems.io, Learnworlds, Podia, etc., but none of those are specifically built for Course Creators who want to house an online course and/or community.
These are the best course hosting platforms:
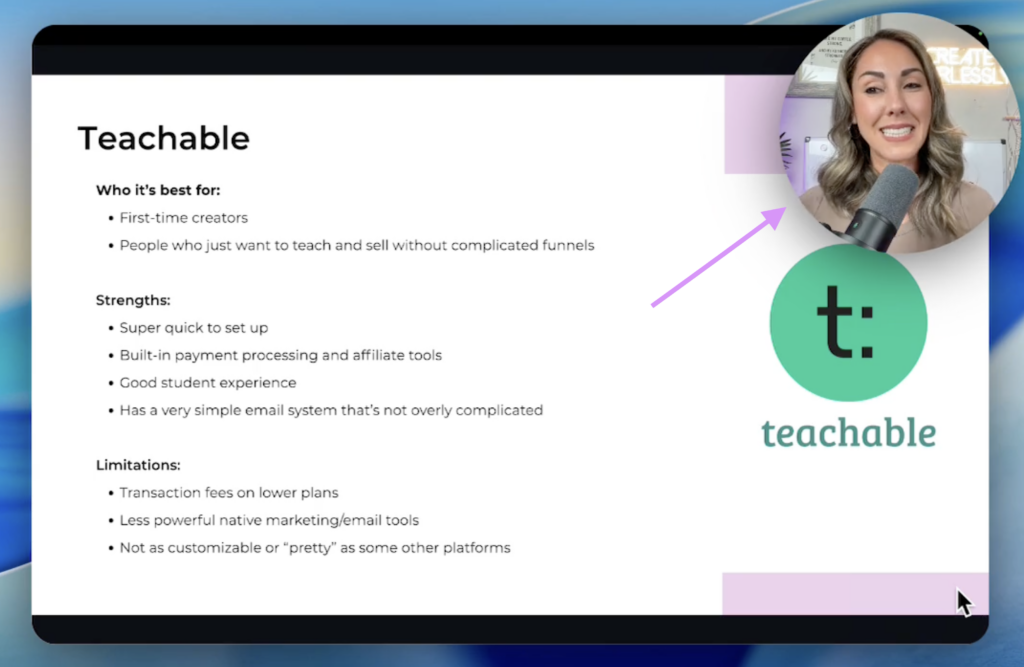
- Teachable
- Thinkific
- Kajabi
They’re not the cheapest, but they’re the easiest to work with and most course-focused platforms out there specifically made for course creators.
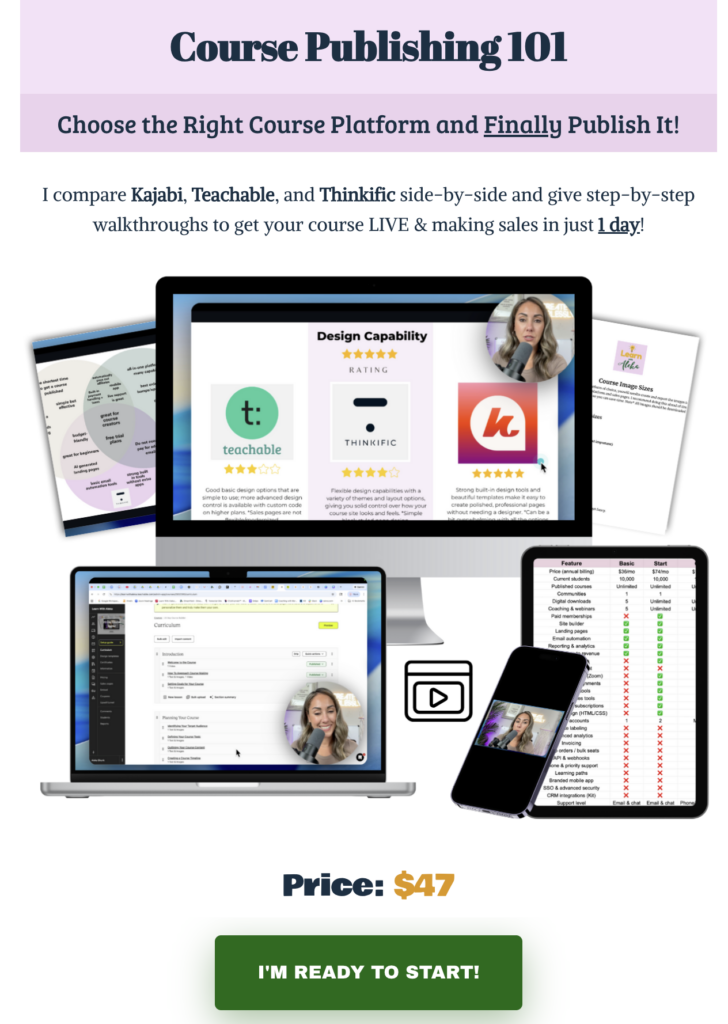
I have a mini course that walks you through each of these 3 platform and compares them SIDE-BY-SIDE so you can choose the right one for you. You can grab that course HERE if you want to decide within the next few hours. ➡️
Why I Use Teachable
I have used Teachable for the last 6 years because it’s the most basic and has all I need to sell courses. It includes:
- Course hosting
- Sales pages
- Payment processing
- Automated emails
- Refunds
- Affiliates
- …and so much more.
They’ve improved a lot over the years, and it’s more than enough to get started. If you are a beginner, I highly recommend Teachable OR Thinkific! Kajabi is a bit more money and for the creator who is tech-savvy and wants all-in-one email marketing capabilities built in.
Starter plans for both platforms begin around $35/month, which is all you need for your first course.
Email Marketing Software (Yes, You Need This)
Email software is essential for online course creation.
It allows you to:
- Connect buyers to your course
- Tag students automatically
- Separate buyers from subscribers
My Recommendation: Kit (Formerly ConvertKit)
Kit is:
- Free up to 10,000 subscribers
- Easy to integrate with Teachable
- Beginner-friendly
Once connected, when someone buys your course:
- They get tagged as a student
- You know exactly who purchased
This makes managing launches and future offers much easier.
Like I mentioned earlier, if you want an all-in-one platform where you can host your course AND send emails/sequences, choose Kajabi. I prefer to have it separate because the email capabilities of Kit are better than Kajabi’s BUT Kajabi is pretty darn good at what it does.
Total Cost Breakdown
The Minimum Course Creation Budget Needed
$115 total (yes, that’s it!)
This covers:
- Recording
- Editing
- Hosting with Teachable/Thinkific
- Selling
That’s it.
You can easily make that back with one or two course sales.
More Polished Starter Setup
If you have a little more flexibility with your budget and confidence working with tools and technology, you can expect around $200 total.
This includes:
- Higher-quality microphone (like the DJI wireless mic)
- Better webcam if needed
This setup is great if:
- You move around while recording
- You film in your kitchen or outside
- You want cleaner audio without wires
Everything else will be the same as the minimum budget above.
Optional Extras (Nice, Not Necessary)
These are helpful but not required:
- Tripod (under $20–$30)- (A must if you are physically demonstrating something live not on the computer)
- Floor lamp for background lighting- (If you are not just using your computer and have minimal daylight.)
- Teleprompter (advanced)- Please do not buy one if you are a total beginner. I, instead, recommend a teleprompter app on your phone.
- Decorative uplighting- For those who plan on being in one place for most of the course and are talking straight to the camera.
But I always recommend starting simple. Sell at least 50-100 courses, then use that money and validation to upgrade later.
Final Thoughts: Don’t Overthink This!
You do not need:
- Fancy gear
- Complicated software
- A massive budget
You do need:
- Clarity
- Momentum
- A minimum viable setup (as listed above)
$115 is enough to create and sell your first profitable online course. (I made $83k off this setup!) The next piece is just making sure you have a PROFITABLE course topic that people will pay you for.
I teach this entire process inside my 20‑Day Course Builder, where I walk you through:
- Recording
- Uploading
- Sales pages
- Launching
Create fearlessly. Start now.
Be honest…what part of this are you still stuck on? Drop it in the comments. I actually read them. ⬇️